![]() Hole #10 – Par 2
Hole #10 – Par 2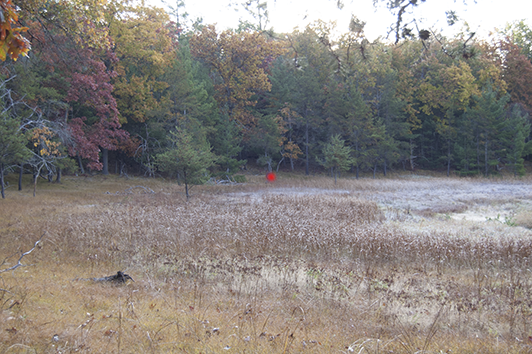 View of #10 pin from the tee.
 #10 Pin. This is not a Joshua Tree.
Comments about Hole #10 – This hole is long but a good hard drive can come darn close to the pin. The trees on the left side of the pin come into play for those with a fade. Depending on the amount of rain in the year the wetlands can have as much as a foot of water in them (or be bone dry) which provides a brisk experience if your disc heads into the water.
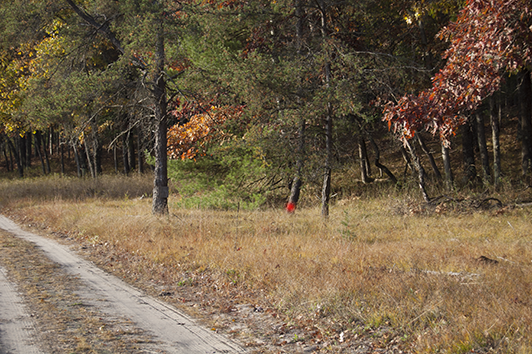
![]() Hole #11 – Par 3
Hole #11 – Par 3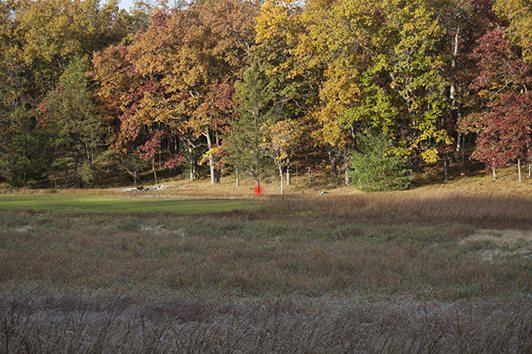 View of the pin from tee.
Comments about Hole #11 – Another long one. A good tee shot will get you within 30 yards of the pin. A bad one will dump you in the middle of the reeds or water if present.
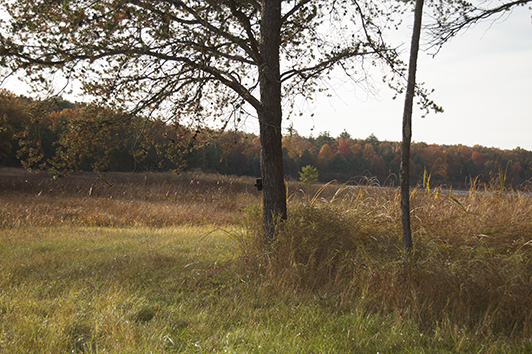
![]() Hole #12 – Par 2
Hole #12 – Par 2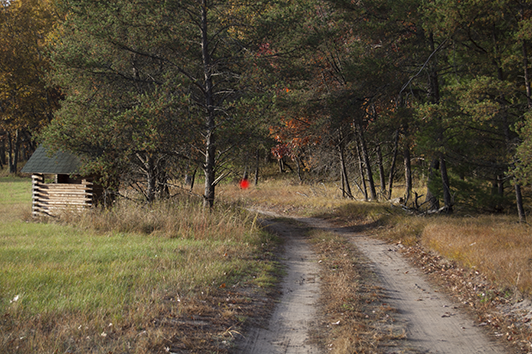 Pin is just visible from the tee
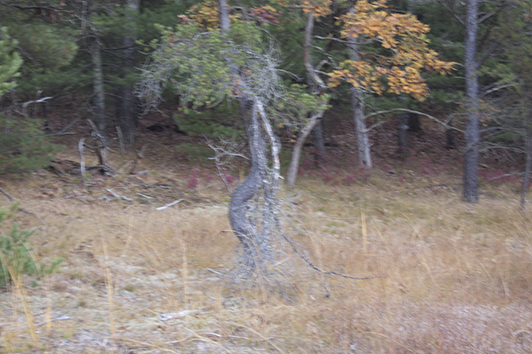
Comments about Hole #12 – There are two ways to approach this hole; fire a shot straight through to the pin and risk the wrath of the wood gods or try a long banana anhyzer shot around the deer blind.
![]() Hole #13 – Par 2
Hole #13 – Par 2
 View of the pin from a position just forward of the tee.
Comments about Hole #13 -This is a long hole that is par TWO. Basic idea on this hole is to stay left of the tree line and to the right of swampy area. A good first shot will take you about 20 yards past the fallen tree. A second should give you an eaaaasy putt for one over and with that you will have avoided a shot. Careful on that putt because that grass around the tree has a way of denying the shot.
![]() Hole #14 – Par 2
Hole #14 – Par 2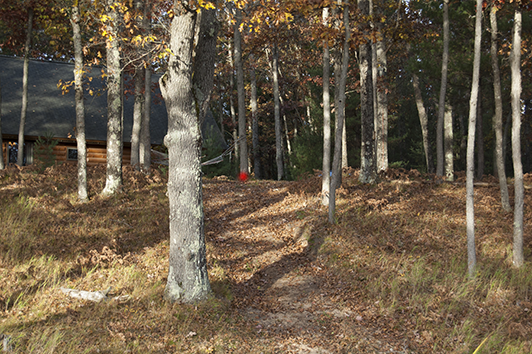 View of the 14th pin from the tee.
Comments about Hole #14 – Seems like an easy hole. Uphill, not a long one but guarded on both sides by trees. Straight shot gets you home. Ram the plastic into some wood and you are looking at 3.
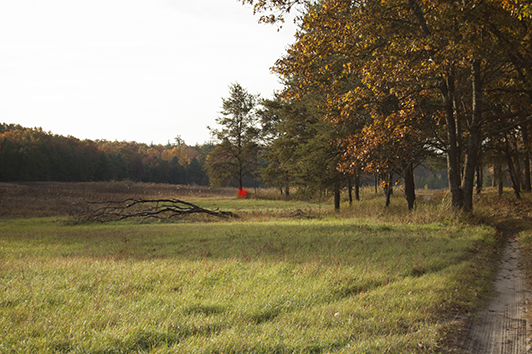
![]() Hole #15 – Par 1
Hole #15 – Par 1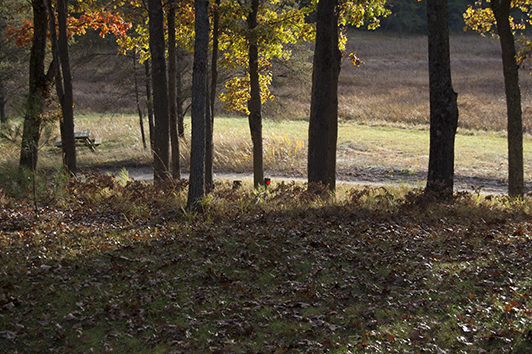 View from the House deck (where the tee is).
Comments about Hole #15 – This hole comes after a quick break in the game to refill the cooler and maybe grab a bite. It can quite treacherous as the pin is behind the stump where red marker is in the picture. Add that to the many trees hanging around and this tee off can be anger inducing. Did we mention that this is par 1?
![]() Hole #16 – Par 2
Hole #16 – Par 2
 View from tee.
Comments about Hole #16 – Another long hole with the pin tight up against the right side of the road, a tree defending a straight at it shot and a tempting anhyzer throw. If you choose the ‘straight at it’ option don’t go right into the woods. There isn’t a single good shot to get out of there. Left is an option as there is plenty of room but it can get wet.
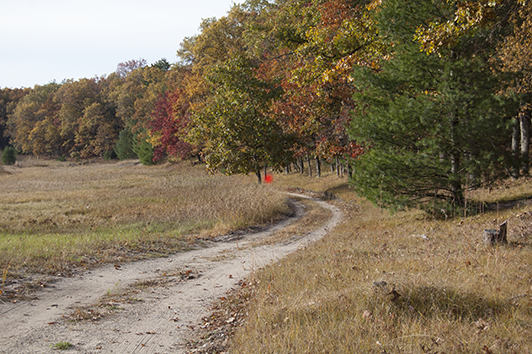
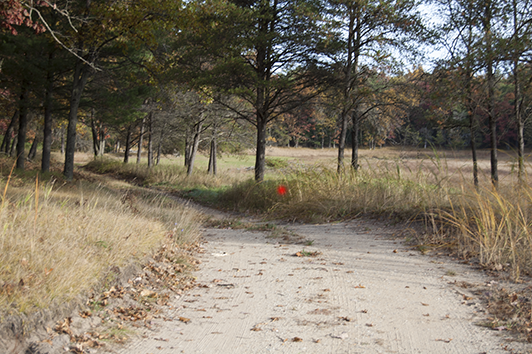
![]() Hole #17 – Par 3
Hole #17 – Par 3
 View from the tee. Direction to the pin indicated.
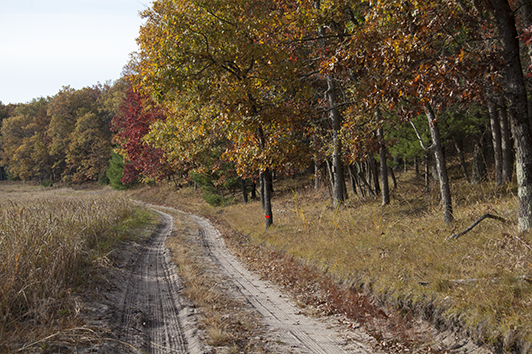
 About 30 yards from the pin
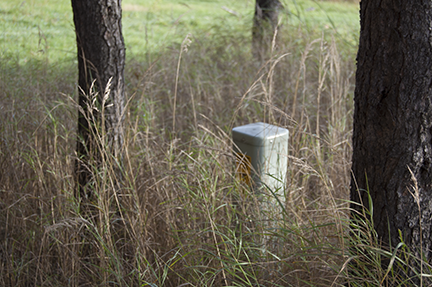 The telephone box is the pin
Comments about Hole #17 – Another long hole. The tee shot, if played correctly with the right fade should land you in the road about 10 years behind the second picture. A good second shot could get you to the pin but you have avoid the trees surrounding it. Lastly, the pin has a bunch of grass around so be firm with the putt.
![]() Hole #18 – Par 2
Hole #18 – Par 2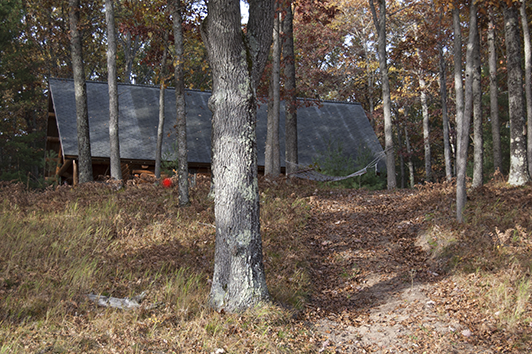 View from the tee
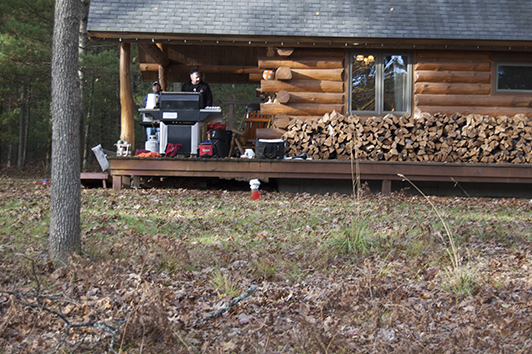 View of the pin
Comments about Hole #18 – The final hole start from a location close to the tee box for 15 but the pin is the well head by house. Watch out for the trees and you might get a 2. Don’t be long as you’ll be under the deck or worse in a pile of vomit from the previous night.